
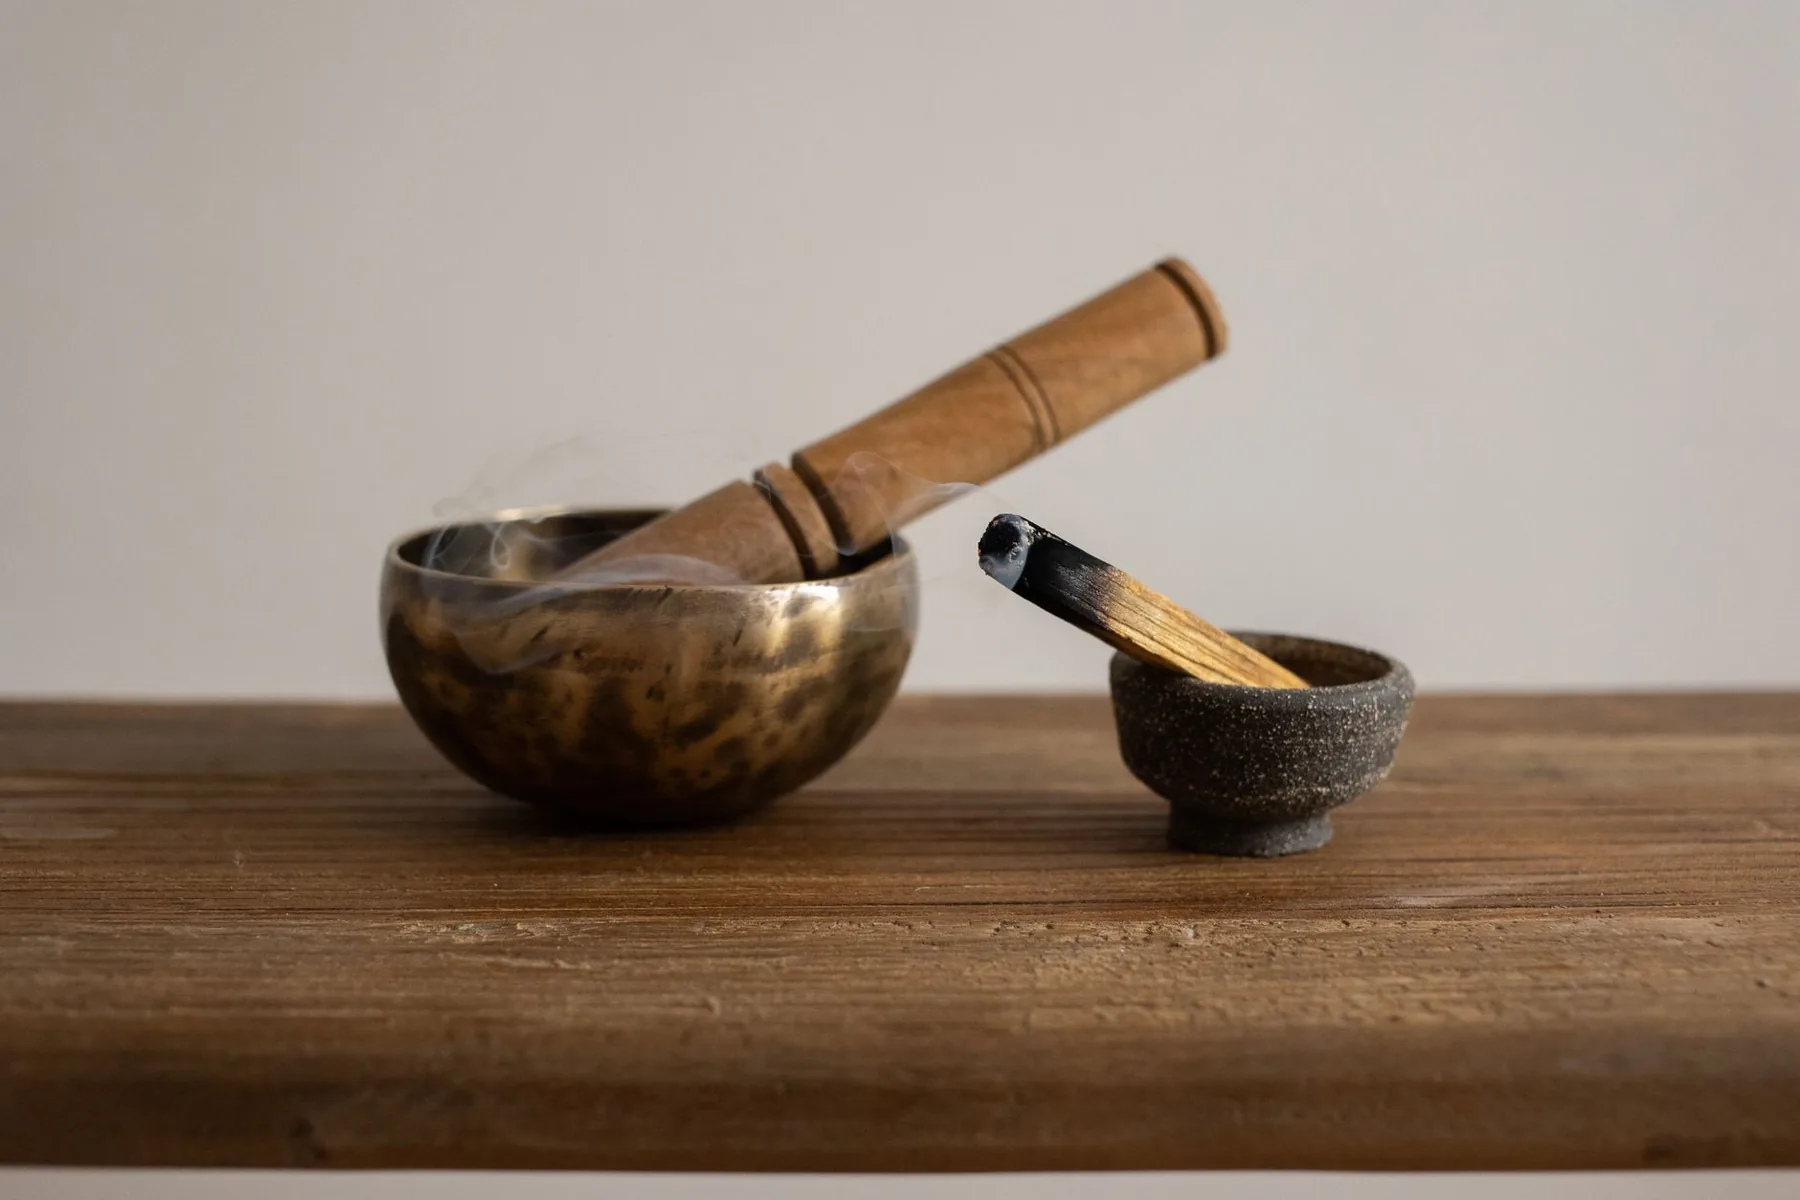
This step-by-step guide offers a gentle, safe approach to harmonizing the energy centers with a singing bowl. The idea is to open gradually, listen to your body, and respect pauses.
You will learn how to prepare the space, choose the equipment, make your bowls sound, and carry out a complete session. Paying attention to volume and rest periods near the head remains essential.
The method requires no musical skill. Regularity and coherence matter more than performance. Sensations vary: physical relaxation, mental calm, or little effect at first.
Important reminder: this practice is intended for well-being and does not replace medical advice. For practical guidance and instrument care, discover how to care for a bowl.
Understanding the chakras and the goal of a sound session
Understanding the map of the energy centers helps give meaning to sensations after a sound practice. This traditional reference point is mainly used in yoga and meditation to describe inner circulation and balance in the body.
Definition and location of the seven centers
The seven major centers run from the base of the spine to the crown of the head. Their Sanskrit names are: Muladhara (root), Svadhishthana (sacral), Manipura (solar plexus), Anahata (heart), Vishuddha (throat), Ajna (third eye), Sahasrara (crown).
What does “chakra” mean?
Chakra means “wheel” or “disc” in Sanskrit. The image suggests movement, passage, and a dynamic flow of energy.
Signs and realistic expectations
A center perceived as blocked may show up as tension, agitation, or a feeling of instability (the root chakra illustrates insecurity). These signs remain subjective.
The goal of a session is simple: encourage physical relaxation, calm the mind, and support a sense of alignment. The effect may be immediate or gradual. This article also ends with a note of caution: this is a complementary well-being practice, not medical advice.
Why the vibrations of a Tibetan singing bowl act on the body
When the bowl sings, resonance creates a space that supports physical and mental calm.
Resonance, relaxation, and body awareness
Resonance means a sound that lasts: a vibration that spreads and can sometimes be felt in the muscles.
This vibration may help release muscular tension and bring attention back to the body.
A sound session often works indirectly.
It lowers agitation, invites breathing, and brings attention back to sensations.
That is how the relaxing effect appears.
Factors that shape the effect
- Volume: too loud, it causes overstimulation; moderate, it soothes.
- Length of resonance: letting the sound fade helps integration.
- Surrounding silence: fewer distractions increase perception.
- Integration time: the pause between sounds is often decisive.
Finally, intention and personal listening matter.
Auditory sensitivity, fatigue, and meditation experience influence the real effect.
Preparing the gesture
To benefit from the moment, you need to know how to make the singing bowl sound without striking too hard or moving too quickly from one sound to the next.
Time and gradual progression remain essential during the next steps of the sessions.
7-Chakra Tibetan Singing Bowl: Simple Protocol for a Session
Starting a sound practice requires little equipment, but careful attention to rhythm. For a first try, aim for 10 to 20 minutes: it is a good balance for a beginner level and for maintaining a regular habit.
Duration and intention: begin with a mini breathing ritual lasting 1 to 3 minutes. Formulate a short, clear intention, for example “I cultivate overall balance and deep relaxation”, to guide the meditation without seeking an immediate result.
Minimal equipment: a Tibetan bowl, a mallet, a stable support (cushion or ring), a mat or blanket, and, if needed, a discreet timer. This set is enough to learn how to use a Tibetan bowl at home.
Golden rule: always play gently. Let the sound decrease before starting again. If you feel agitation, headaches, or tightness, stop and breathe deeply: the body is signaling overload.
- Prioritize regularity: little and often is better.
- Increase the duration only if comfort and level allow.
- Next step: choose a suitable bowl, prepare the space, and learn the playing techniques.
Choosing the right bowl and accessories for an effective practice
Choosing the right instrument changes the quality of the sound and the experience. Before buying, listen to several models and note clarity, sustain, and the absence of squeaks.
Metal alloy vs quartz crystal
A metal-alloy bowl delivers rich, complex resonance. The timbre varies according to the composition of the metals.
A quartz crystal bowl offers a note that is often more stable and a purer sound. Musicians appreciate its precision.
Size, depth, and comfort
For beginners, choose a size of about 12 to 15 cm and a reasonable thickness. Large models (>40 cm) produce enveloping vibrations, but require more space and strength.
Note stability and quality criteria
- Test the resonance duration after striking.
- Check the stability of the note and the absence of unwanted frequencies.
- Check tactile comfort and how easily the instrument can be made to sing.
Accessories and tuning reference points
Felt mallet for a soft attack, harder stick for a clear attack, silicone for a crystalline result. Test 440 Hz, 432 Hz, and 528 Hz by ear, then choose what soothes you.
Preparing the space and body before making the bowl sound
Taking a few minutes before starting helps create a suitable atmosphere. Place soft lighting, reduce distractions, and set a pleasant temperature. A comfortable surface (mat or blanket) supports relaxation and stability in the body.
Preparation influences the intensity of the vibrations felt. The calmer the environment, the less you need to raise the volume to obtain the desired effect. Announce the practice time and plan regular pauses.
Setup and safety
- Stable support for the instrument: ring or non-slip cushion.
- Cushion under the head if lying down, support under the knees if needed.
- Keep the area clear to prevent falls.
Always check stability: an unstable instrument can surprise you and create an overly aggressive sound. Listen to your body every time: notice tensions (neck, pelvis) and adjust the position.
Quick centering
Before making it sound, breathe slowly for 1 to 3 minutes, hands on your belly. Formulate a short, positive intention. Begin at a gentle level and increase only if comfort and level allow.
Basic techniques for sounding and making a Tibetan bowl sing
Grasping the basic gestures radically changes the quality of the sound and the feeling. Above all, adopt a short and regular practice: 15 minutes is enough to progress.
Struck playing: a clear attack without overstimulation
Gently strike the outer rim with the mallet. Aim for a short, clean attack, then let the sound unfold without hammering.
Hold the mallet like a pencil: flexible, without gripping. Let it rebound slightly to avoid an aggressive sound and overstimulation.
Rim playing: continuous sound and fewer squeaks
Place the stick on the rim and keep an angle of about 20 to 30°. Apply steady pressure and turn slowly, about one turn every two seconds, until the instrument sings.
If you hear squeaking, slow down and lighten the pressure. A damp rim or unstable grip also encourages unwanted noise.
Gestures that change everything
Place the bowl on a stable support or on your palm without gripping it. A hold that is too rigid muffles the vibrations.
Suggested mini-progression: 5 minutes struck, 5 minutes rubbed, then a period of silence to listen to the resonance. Repeat several times during the week and adapt the level to your comfort.
To deepen the technique, consult a practical guide on how to use one.
Bowl placement and note-chakra correspondences for a complete session
Organizing several instruments around the body creates a gentle, coherent listening progression. Here, the idea is to guide attention without direct contact, while respecting safety and each person’s sensitivity.
Body reference points (bottom → top)
- Root: base of the pelvis, grounding.
- Sacral: hips.
- Solar plexus: upper abdomen.
- Heart: chest, center of the thorax.
- Throat: base of the neck.
- Third eye: forehead, slightly to the left or in the center.
- Crown: above the head, upper energy field.
Note correspondences (reference points)
Common frequency reference points run from C to B (C-D-E-F-G-A-B). For example:
- F = base / root
- C = sacral (left hip)
- G = solar plexus (right side)
- D = heart (left side)
- A = throat (right side of the neck)
- E = third eye (at a distance)
- B = crown (above the head)
Important note: these correspondences serve as a framework. They are not mandatory if your bowls are not perfectly tuned.
“Himalayan set” approach and distances
The “Himalayan set” favors a lateral organization: placing some sounds on the left and others on the right avoids stacking instruments on the thorax or face.
Near the head and ears, keep at least 10 cm of distance and reduce the volume. Avoid any aggressive strike that could bother hearing.
Adapt according to body shape and position
If you are seated, bring the bowls closer to the hips and thorax. Lying down, prioritize lateral and above-body placement. Adjust the distance and angle according to auditory sensitivity.
Coherence: a simple layout, a gentle volume, and long pauses are better than a complicated arrangement that is hard to maintain.
To go further, also discover harmonious religious songs through these pieces, which can complement the atmosphere.
Step-by-step flow of a sound session to harmonize the seven chakras
A structured sequence helps avoid overstimulation and better feel each vibration.
Choose the posture
Seated if the goal is concentration and meditation.
Lying down if the aim is deep relaxation and passive reception of sounds.
Opening and rising through the notes
Start very gently. Strike the bowls in the order F → C → G → D → A → E → B.
Always let the sound decrease before playing the next note. It is recommended to wait until the sound disappears after B.
Sequence and dosage
Move from bottom to top with 1 to 3 gentle strikes per note. Quantity is not what matters; regular rhythm is.
Closing and grounding
Move back down B → E → A → D → G → C → F to bring attention back toward the base.
End of session
Finish with 1 to 3 minutes of integration silence. Make small movements (fingers, neck) and drink water.
Time, rhythm, and regularity for feeling effects over time
Establishing a clear time frame makes it easier to integrate sound effects over the long term. Time and frequency should be chosen according to your comfort and level.
Suggested durations according to level
Beginner: aim for 8 to 12 minutes. This short ritual lets the body get used to it without forcing.
Advanced: up to about 45 minutes if recovery remains good. Always progress in stages.
Practice frequency and listening
Regular sessions, 2 to 3 times per week, often produce more effects than one long isolated practice.
Regularity should be stable: the same gentle volume, the same pauses, and the same flow. This reassures the nervous system and establishes balance.
When to reduce or stop
Reduce the duration or space out the sessions if you feel fatigue, agitation, or pressure in the head. These are signs of overload.
Briefly note how you feel after each practice: sleep, relaxation, tensions. This tracking helps adjust the level and time.
| Profile | Recommended duration | Frequency | Adjustment signs |
|---|---|---|---|
| Beginner | 8 to 12 min | 2 to 3 times/week | Fatigue, nervousness → reduce |
| Intermediate | 15 to 30 min | 2 to 4 times/week | Head pressure → longer pauses |
| Advanced | 30 to 45 min | 3 to 5 times/week depending on comfort | Negative sensations → space out or stop |
To deepen your practice and instrument care, consult this useful article: the power of waves.
Common mistakes and precautions before a session with singing bowls
Acoustic caution is often more useful than high intensity when working with bowls. Here are the key points to keep in mind before starting.
Too loud, too fast, too long: recognizing overstimulation
Common mistakes: striking too hard, chaining sounds without pauses, trying to “force” a feeling, or raising the volume to compensate for a noisy environment.
Signs of overstimulation: auditory discomfort, tightness, agitation, headaches, a feeling of “overload,” or short breathing. If this happens, stop and breathe slowly.
Sensitive areas and placements to avoid
Avoid placing a bowl close to the ears or pressing on the neck. Limit power near the head and keep at least 10 cm of distance for the forehead and crown.
Material safety framework and simple rules
- Ensure stability: support or non-slip ring.
- Flat, secure surface; do not leave the instrument resting unstably on the body if you are alone.
- Wait for the resonance to decrease before the next strike: pauses are essential.
“The silence between sounds protects hearing and supports the integration of vibrations.”
Common-sense reminder: this is a well-being practice and it does not replace medical advice. In case of hyperacusis, a medical condition, or an implanted device, consult a professional. To learn more about mistakes to avoid, see this useful article: mistakes to avoid.
Session variations according to your goal: meditation, sound massage, sound bath
Each intention deserves a suitable form of sound practice, whether the goal is centering or deep relaxation.
Guided meditation
Choose a chakra and set a short intention (e.g., grounding). Breathe slowly, visualize the flow of energy toward the chosen area, then make a bowl sound gently.
The goal is to direct attention and associate the note with breathing to support mental centering.
Sound massage for two
A partner stabilizes the instrument on a support, accompanies the breathing, and begins with very gentle strikes.
Communicate continuously. Adjust the distance and intensity according to the person’s sensations. The goal: muscular relaxation and better body awareness.
Contact-free sound bath
Arrange several bowls around the body, without contact. Play slowly and leave silence between the sounds.
This is often gentler, more accessible, and effective for calming stress.
Adapting for sensitive audiences
Children, seniors, or highly reactive people require reduced volume, a short duration, and a stable position (often lying down with supports).
Stop immediately in case of discomfort. Favor low sounds and avoid placement near the ears.
- Practical reference points: low sounds = soothing.
- Avoid proximity to the ears and strong strikes.
- Position: seated for focus, lying down for relaxation.
To deepen your understanding of how sounds are used and their effects, consult this article on sound therapy and lithotherapy.
Conclusion
The key to a lasting practice lies in gentleness, gradual progression, and listening to the body.
Practical summary: prepare the space, set an intention, produce a gentle and stable sound, move up through the centers (F → … → B), then move back down to close and regain grounding.
The levers that matter: the choice of a Tibetan bowl that feels comfortable to the ear, suitable accessories, moderate volume, and above all pauses between each note.
Practice regularly, 2 to 3 times per week. A few short sessions often provide more effects and balance than a rare long practice.
Adapt the duration, position, and number of strikes according to the day’s sensitivity. This Tibetan singing bowl method supports well-being, but does not replace medical advice: in case of discomfort, reduce, space out, or stop.
To deepen your understanding of correspondences between notes and chakras, consult this article on chakras and notes.